Do you dream of beautiful, long-lasting nails? Capsule application is an excellent solution for getting professional results fast. Follow our step-by-step guide to successful capsule application and the proud display of your new nails.
Nail preparation

For a successful capsule application, it’s essential to prepare your nails properly. Here are the steps to follow:
- Clean your hands and nails with mild soap, then dry them thoroughly.
- Remove all traces of varnish, if you wear any, with an acetone-free nail polish remover.
- Gently push back cuticles with a boxwood stick or metal cuticle pusher.
- Lightly file the surface of your natural nails to help the capsule adhere better. However, avoid weakening them too much.
- Degrease your nails with a cleaner (liquid cleanser) and soak a cotton pad on each nail.
Once these steps have been completed, your nails are ready to receive the capsules.
Capsule selection and installation
For a successful manicure, it’s important to choose the right size and shape of capsules. Follow these tips to find the ideal capsules:
- Assess the width of your natural nails before buying capsules. Capsules should cover the nail perfectly, without overlapping the sides or touching the cuticles.
- Choose transparent or natural plastic caps, as you prefer. The material should be flexible yet resistant.
- Pre-formed capsules with a slight curve are preferable for a more natural look.
Once you have found the right capsules for your nails, proceed with their application:
- Apply a small amount of capsule adhesive to the center of the natural nail and to the lower edge of the capsule.
- Position the capsule from the free edge of the natural nail to the lunula (the white half-moon-shaped part at the base of the nail).
- Hold the cap for a few seconds to ensure a firm grip.
- Repeat for each nail.
Capsule adjustment and shaping

Once the capsules have been fitted, they need to be adjusted and shaped for a harmonious result:
- Gently file the edges of the capsules to the right length and shape for your hands.
- Lightly roughen the surface of the capsules with a polishing block to promote adhesion of the gel or resin.
Gel or resin application
Once the capsules have been fitted, you can proceed to apply the gel or resin. Here’s how to do it:
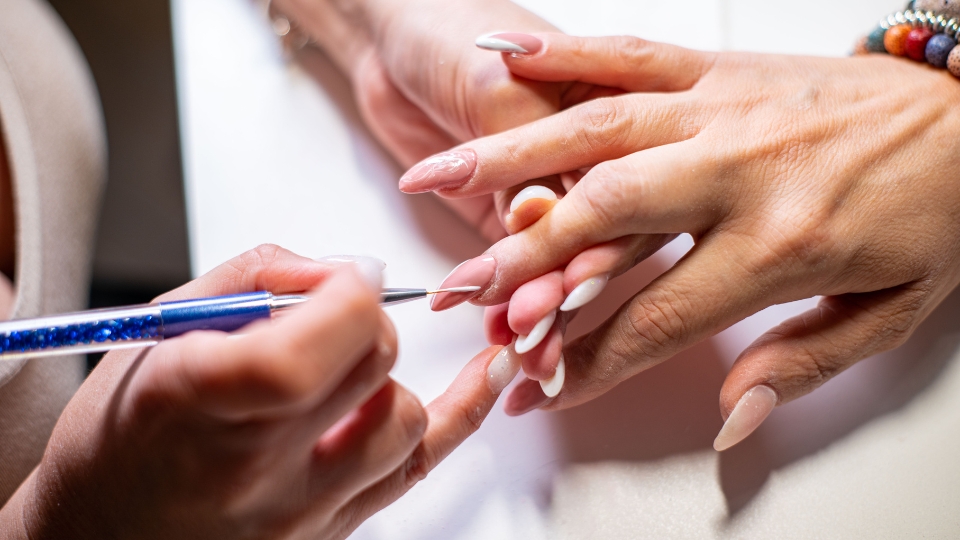
- Apply a thin layer of base (gel or resin) to each nail using a suitable brush.
- Cure the product under a UV lamp for about 2 minutes.
- Apply a second layer of gel or resin, making sure to cover the capsules and natural nails. Avoid excess and air bubbles.
- Cure again under the UV lamp, then repeat if necessary.
Finishes and decoration
To complete your capsule installation, think about finishing and decoration:
- File the nail edges again to obtain a harmonious shape and eliminate any excess thickness.
- Polish nail surfaces with a polishing block for a smooth, shiny finish.
- Apply colored varnish or a French manicure, as you wish.
- Decorate your nails with rhinestones, stickers or nail art if you like.
With these tips, you can now apply your own capsules and enjoy perfect nails in all circumstances. Don’t hesitate to experiment with different colors and decorations for a unique, trendy look.